How to make your own roasted garlic.
There are very few things that I absolutely love smelling cooking in my home. The comforting dish of a roast, potatoes, and carrots is one. The amazing smell of my mom’s apricot nectar pound cake. Roasted garlic is right up there in the top 3 smells I enjoy cooking in my home. The roasted garlic is so easy to make.
Roasted Garlic is not cheap to purchase prepared. At Whole Foods or Kroger, you can pay up to $8.99 a pound on the antipasti bar. You can buy 2.5 lbs of whole fresh Garlic bulbs at Sams Club currently (time this post was written) for $4.98. That is a huge difference in price.
Health Benefits for eating Roasted Garlic
Besides the fact, your home will be filled with the sweet smell of roasted garlic, it is full of health benefits for you. 3 grams of roasted garlic have your daily dose needed of Manganese, it also has Vitamin C and Sulfur, all of which serve as antioxidants. Our bodies need antioxidants to dispose of toxins before they negatively affect our bodies. I always enjoy reading what Livestrong says about health benefits and I feel they have good information about roasted garlic and a lot of other topics.
Garlic is also known to kill bacteria, viruses, and fungi.
Roasting Garlic
You would think that since it cost so much at the grocery store to purchase fresh roasted garlic, it would be hard to recreate that at home. Great News! It is not hard at all to make your own roasted garlic. 2 ingredients, that is it
You determine how many cloves you want to roast. Your guide is what you think you would be able to eat within a one week period. The roasted garlic can be frozen, but since it is so easy to make, why not have it as fresh as you can?
It only takes 2 ingredients to make roasted garlic.
Ingredients
- Garlic Clove
- Extra Virgin Olive Oil
Directions
- Preheat oven to 400 Degrees
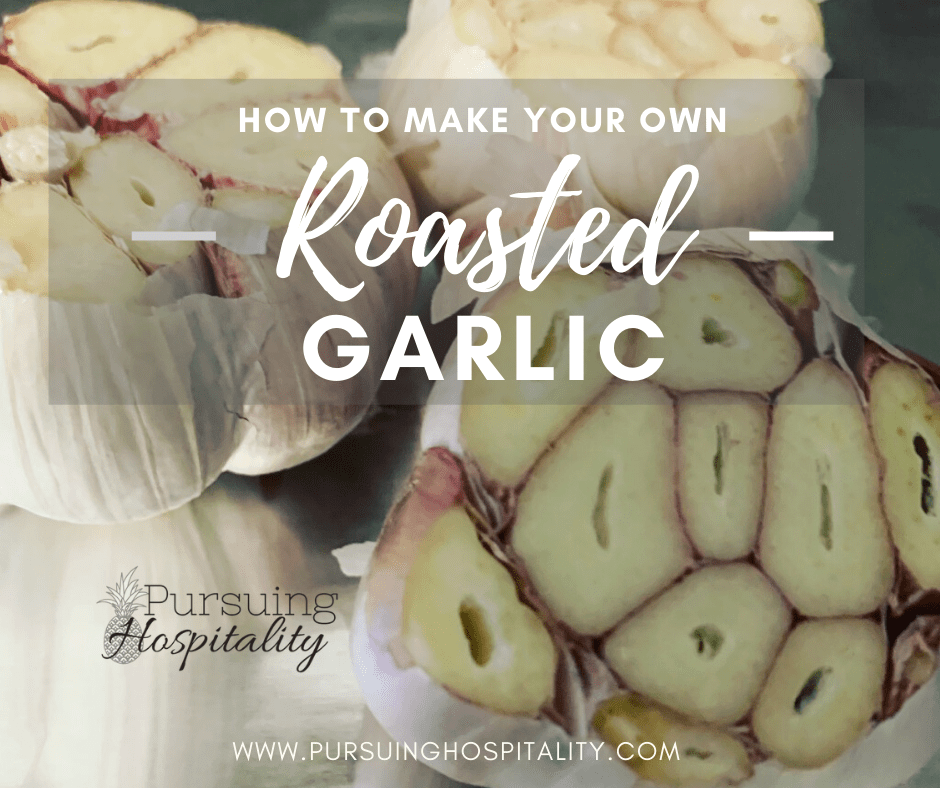
- Remove the outside skin of the garlic to expose garlic in casings.
- Cut off the top of the garlic clove to expose each section of the clove
- Place in a baking dish
- Drizzle and massage 2 tbsp of Extra virgin olive oil over each clove.
- Securely cover with parchment paper and then aluminum foil.
- Place in the oven for 40 minutes. Start checking cloves after 30 minutes. Your cloves will be done when they are soft, your home is smelling amazing and caramelized.
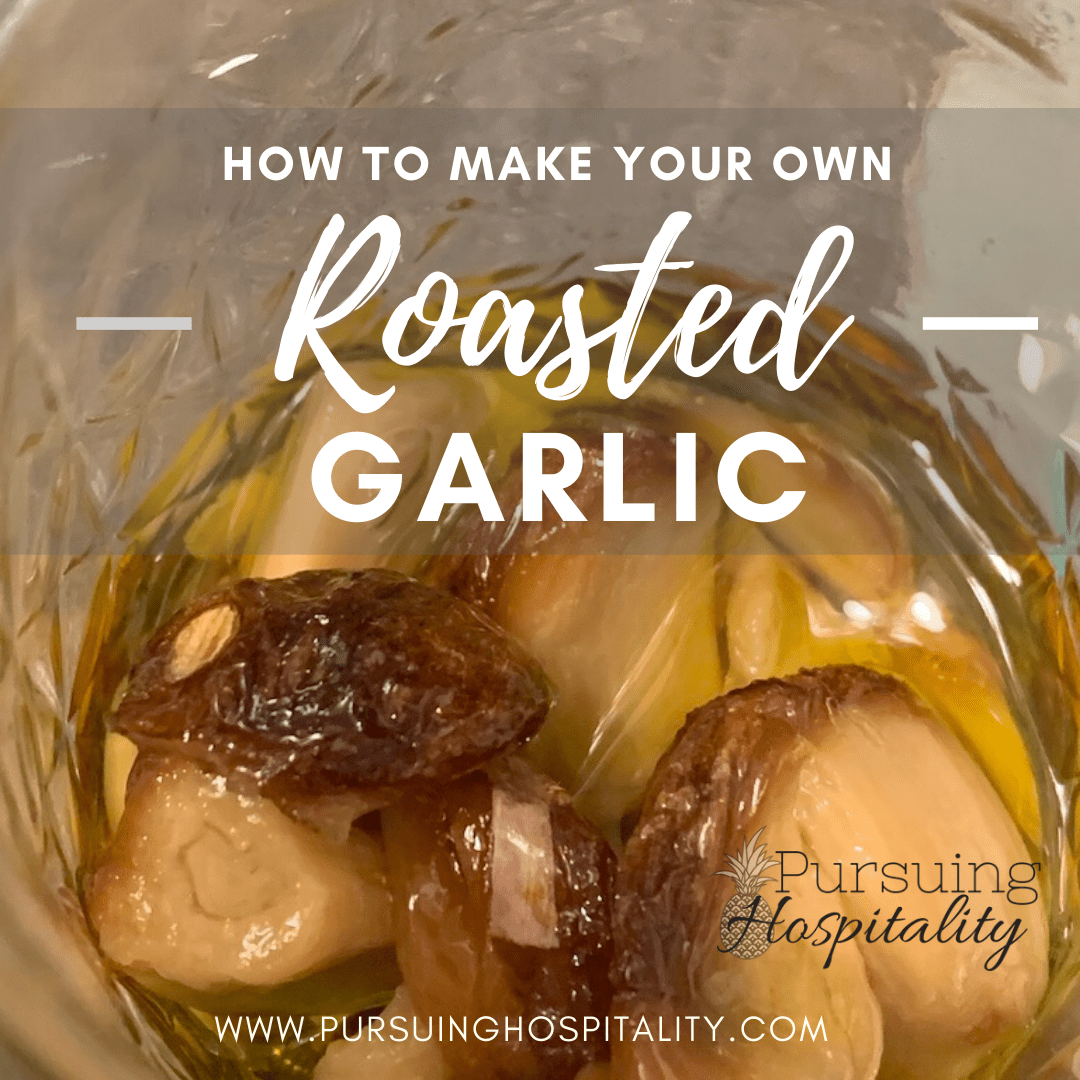
When the garlic cloves are done, you can let them cool. Once cooled, take a spoon and gently slide each pod out of the clove casing. I store my roasted garlic in a small Ball jar in my refrigerator. Place each pod in the jar. Once you have done this, take the olive oil that is left in the pan and pour it into the jar as well.
The olive oil is now infused garlic olive oil that tastes amazing. I use this when cooking as well. Liquid gold.
Roasting your own garlic, you can now give your family restaurant-quality taste and impact their health in a positive way too.
Have you seen my recipe for Spicy Chicken Thai Zoodle? You could use your roasted garlic in this recipe instead of the minced garlic. YUM!
Happy cooking!


My husband has brought so many garlic heads home from work and I just said earlier today to my oldest, I’m gonna roast them! But I’ve never actually done it before. So neat how I landed on this tonight! Can’t wait to do this this week!
Hey! Just saw your comment. So sorry Hopefully you got these garlic roasted. I bet your house smelled amazing!!!